* fix: remove BIGDL_LLM_XMX_DISABLED in mddocs

* fix: remove set SYCL_CACHE_PERSISTENT=1 in example

* fix: remove BIGDL_LLM_XMX_DISABLED in workflows

* fix: merge igpu and A-series Graphics

* fix: remove set BIGDL_LLM_XMX_DISABLED=1 in example

* fix: remove BIGDL_LLM_XMX_DISABLED in workflows

* fix: merge igpu and A-series Graphics

* fix: textual adjustment

* fix: textual adjustment

* fix: textual adjustment
18 KiB
在带有 Intel GPU 的Linux系统上安装 IPEX-LLM
< English | 中文 >
本指南将引导你如何在带有 Intel GPU 的 Linux 系统上安装 IPEX-LLM。适用于 Intel 数据中心的 GPU Flex 和 Max 系列,以及 Intel Arc 系列 GPU 和 Intel iGPU。
我们建议使用带有 Linux 内核 6.2 或 6.5 的 Ubuntu 22.04 操作系统上使用 IPEX-LLM。本页演示了如何在 PyTorch 2.1 中使用 IPEX-LLM。你可以查看完整安装页面了解更多详细信息。
目录
系统环境安装
安装 GPU 驱动程序
适用于处理器编号为 1xxH/U/HL/UL 的第一代 Intel Core™ Ultra Processers(代号 Meteor Lake)
Note
我们目前已在具有内核
6.5.0-35-generic的 Ubuntu 22.04 系统中验证过 IPEX-LLM 在 Meteor Lake iGPU 上的运行和使用。
1. 查看当前内核版本
你可以通过以下方式查看当前的内核版本:
uname -r
如果显示的版本不是 6.5.0-35-generic,可以通过以下方式将内核降级或升级至推荐版本。
2. (可选) 降级 / 升级到内核 6.5.0-35
如果当前的内核版本不是 6.5.0-35-generic,你可以通过以下方式降级或升级它:
export VERSION="6.5.0-35"
sudo apt-get install -y linux-headers-$VERSION-generic linux-image-$VERSION-generic linux-modules-extra-$VERSION-generic

sudo sed -i "s/GRUB_DEFAULT=.*/GRUB_DEFAULT=\"1> $(echo $(($(awk -F\' '/menuentry / {print $2}' /boot/grub/grub.cfg \
| grep -no $VERSION | sed 's/:/\n/g' | head -n 1)-2)))\"/" /etc/default/grub

sudo update-grub
然后重新启动机器:
sudo reboot
重启之后,再次使用 uname -r 查看,内核版本已经修改为 6.5.0-35-generic。
3. 通过 force_probe flag 启用 GPU 驱动程序支持
接下来,你需要通过设置 force_probe 参数在内核 6.5.0-35-generic 上启用 GPU 驱动程序支持:
export FORCE_PROBE_VALUE=$(sudo dmesg  | grep i915 | grep -o 'i915\.force_probe=[a-zA-Z0-9]\{4\}')

sudo sed -i "/^GRUB_CMDLINE_LINUX_DEFAULT=/ s/\"\(.*\)\"/\"\1 $FORCE_PROBE_VALUE\"/" /etc/default/grub
Tip
除了使用上述命令之外,你还可以通过以下方式手动查看
force_probeflag 的值:sudo dmesg | grep i915你可能会获得类似
Your graphics device 7d55 is not properly supported by i915 in this kernel version. To force driver probe anyway, use i915.force_probe=7d55的输出,其中7d55是 PCI ID,它取决于你的 GPU 型号。然后,直接修改
/etc/default/grub文件。确保在GRUB_CMDLINE_LINUX_DEFAULT的值中添加i915.force_probe=xxxx。例如,修改之前,/etc/default/grub文件中有GRUB_CMDLINE_LINUX_DEFAULT="quiet splash"。你需要将其修改为GRUB_CMDLINE_LINUX_DEFAULT="quiet splash i915.force_probe=7d55"。
然后通过以下方式更新 grub:
sudo update-grub
需要重启机器使配置生效:
sudo reboot
4. 安装 computer packages
通过以下命令在 Ubuntu 22.04 上为 Intel GPU 安装需要的 computer packages:
wget -qO - https://repositories.intel.com/gpu/intel-graphics.key | \
  sudo gpg --yes --dearmor --output /usr/share/keyrings/intel-graphics.gpg

echo "deb [arch=amd64,i386 signed-by=/usr/share/keyrings/intel-graphics.gpg] https://repositories.intel.com/gpu/ubuntu jammy client" | \
  sudo tee /etc/apt/sources.list.d/intel-gpu-jammy.list

sudo apt update

sudo apt-get install -y libze1 intel-level-zero-gpu intel-opencl-icd clinfo
5. 配置权限并验证 GPU 驱动程序设置
要完成 GPU 驱动程序设置,需要确保你的用户在 render 群组中:
sudo gpasswd -a ${USER} render
newgrp render
然后,你可以使用以下命令验证 GPU 驱动程序是否正常运行:
clinfo | grep "Device Name"
基于你的 GPU 型号,上述命令的输出应包含 Intel(R) Arc(TM) Graphics 或 Intel(R) Graphics。
Tip
请参阅客户端 GPU 驱动程序的 Intel 官方安装指南以获取更多详情。
适用于其他 Intel iGPU 和 dGPU
Linux 内核 6.2
-
根据你的 CPU 类型选择以下其中一个选项进行设置:
-
选项 1:对于配备多个 A770 Arc GPU 的
Intel Core CPU,使用以下 repository:sudo apt-get install -y gpg-agent wget wget -qO - https://repositories.intel.com/gpu/intel-graphics.key | \ sudo gpg --dearmor --output /usr/share/keyrings/intel-graphics.gpg echo "deb [arch=amd64,i386 signed-by=/usr/share/keyrings/intel-graphics.gpg] https://repositories.intel.com/gpu/ubuntu jammy client" | \ sudo tee /etc/apt/sources.list.d/intel-gpu-jammy.list -
选项 2: 对于配备多个 A770 Arc GPU 的
Intel Xeon-W/SP CPU,使用以下 repository 可获得更好的性能:wget -qO - https://repositories.intel.com/gpu/intel-graphics.key | \ sudo gpg --yes --dearmor --output /usr/share/keyrings/intel-graphics.gpg echo "deb [arch=amd64 signed-by=/usr/share/keyrings/intel-graphics.gpg] https://repositories.intel.com/gpu/ubuntu jammy/lts/2350 unified" | \ sudo tee /etc/apt/sources.list.d/intel-gpu-jammy.list sudo apt update

-
-
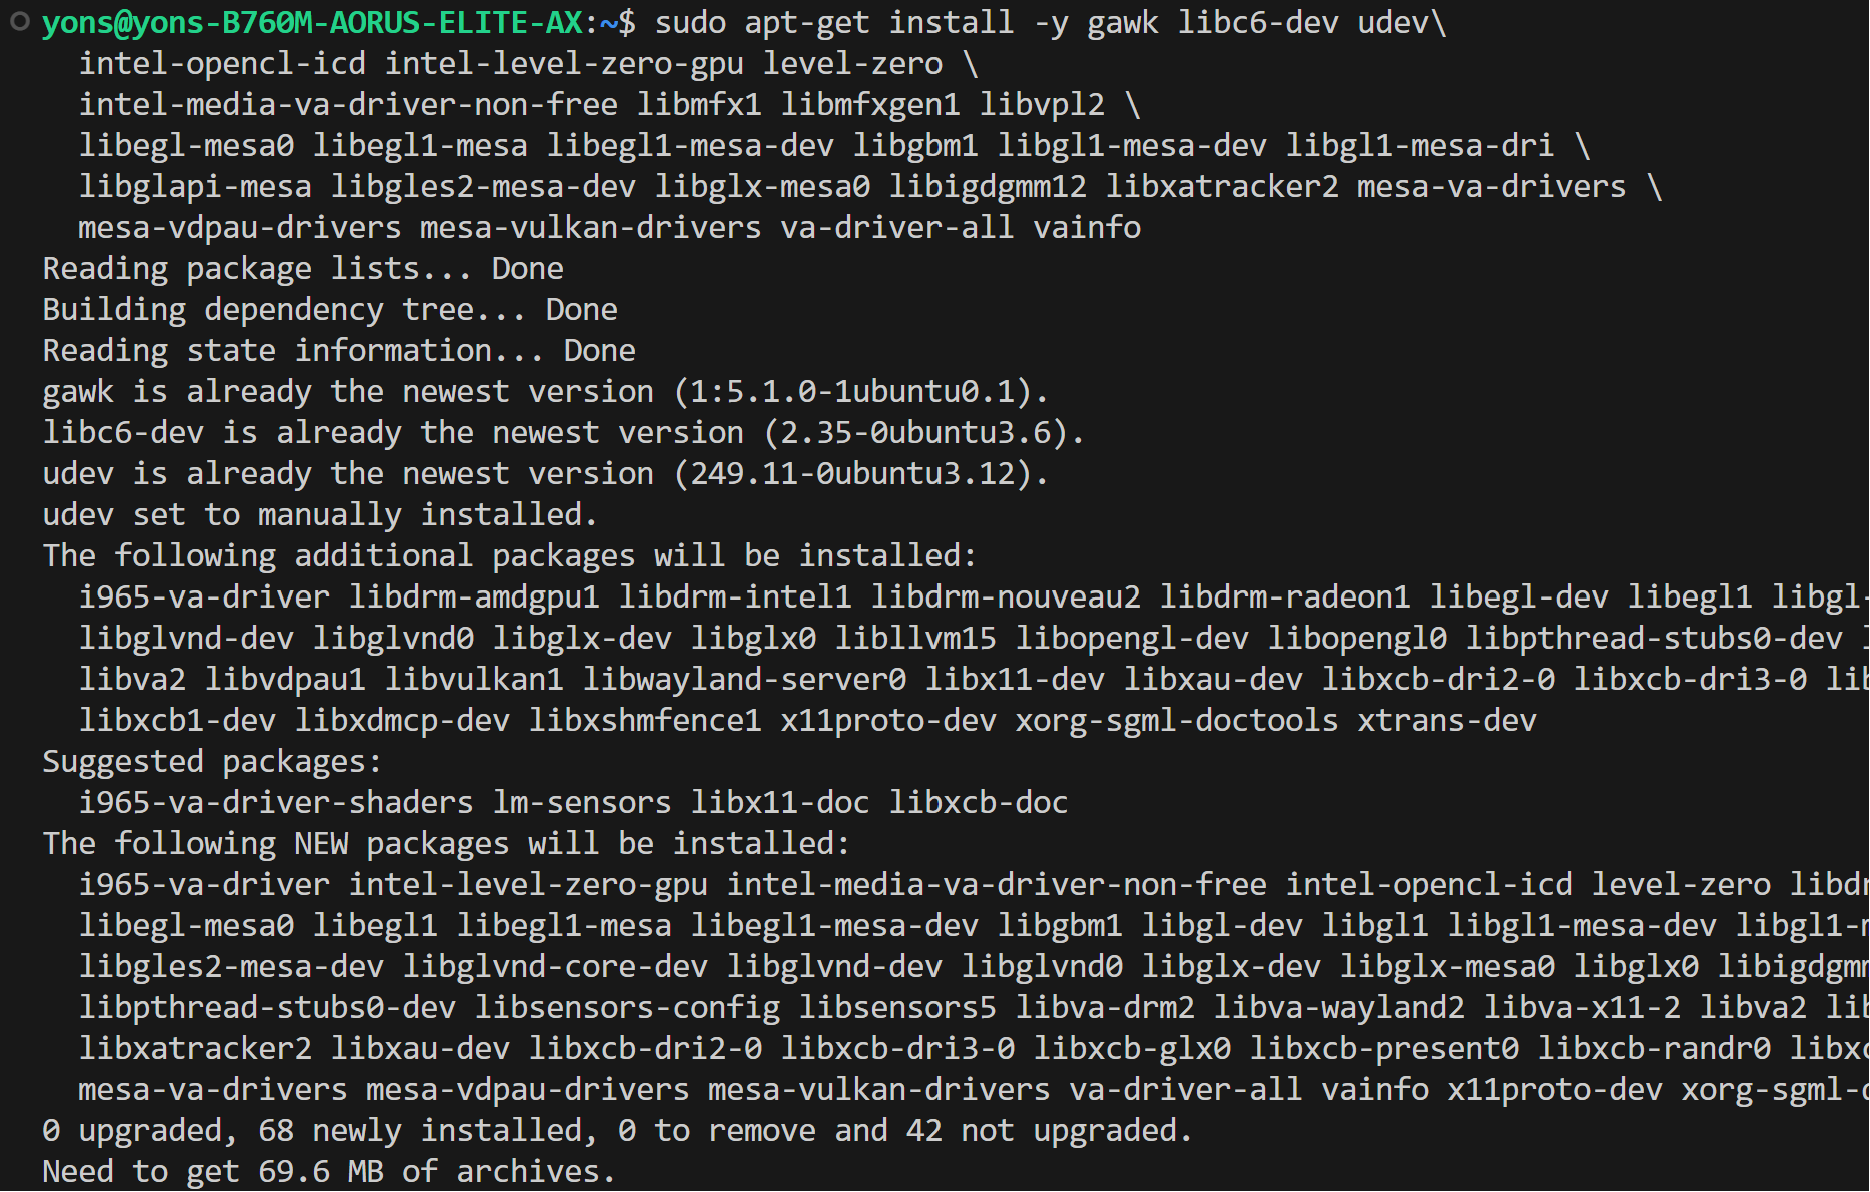
安装驱动程序
sudo apt-get update

# Install out-of-tree driver
sudo apt-get -y install \
    gawk \
    dkms \
    linux-headers-$(uname -r) \
    libc6-dev
sudo apt install intel-i915-dkms intel-fw-gpu

# Install Compute Runtime
sudo apt-get install -y udev \
    intel-opencl-icd intel-level-zero-gpu level-zero \
    intel-media-va-driver-non-free libmfx1 libmfxgen1 libvpl2 \
    libegl-mesa0 libegl1-mesa libegl1-mesa-dev libgbm1 libgl1-mesa-dev libgl1-mesa-dri \
    libglapi-mesa libgles2-mesa-dev libglx-mesa0 libigdgmm12 libxatracker2 mesa-va-drivers \
    mesa-vdpau-drivers mesa-vulkan-drivers va-driver-all vainfo

sudo reboot
-
配置权限
sudo gpasswd -a ${USER} render
newgrp render

# Verify the device is working with i915 driver
sudo apt-get install -y hwinfo
hwinfo --display
Linux 内核 6.5
-
根据你的 CPU 类型选择以下其中一个选项安装:
-
选项 1: 对于配备多个 A770 Arc GPU 的
Intel Core CPU,使用以下 repository:sudo apt-get install -y gpg-agent wget wget -qO - https://repositories.intel.com/gpu/intel-graphics.key | \ sudo gpg --dearmor --output /usr/share/keyrings/intel-graphics.gpg echo "deb [arch=amd64,i386 signed-by=/usr/share/keyrings/intel-graphics.gpg] https://repositories.intel.com/gpu/ubuntu jammy client" | \ sudo tee /etc/apt/sources.list.d/intel-gpu-jammy.list -
选项 2: 对于配备多个 A770 Arc GPU 的
Intel Xeon-W/SP CPU,使用以下 repository 可获得更好的性能:wget -qO - https://repositories.intel.com/gpu/intel-graphics.key | \ sudo gpg --yes --dearmor --output /usr/share/keyrings/intel-graphics.gpg echo "deb [arch=amd64 signed-by=/usr/share/keyrings/intel-graphics.gpg] https://repositories.intel.com/gpu/ubuntu jammy/lts/2350 unified" | \ sudo tee /etc/apt/sources.list.d/intel-gpu-jammy.list sudo apt update
-
-
安装驱动程序
sudo apt-get update

# Install out-of-tree driver
sudo apt-get -y install \
    gawk \
    dkms \
    linux-headers-$(uname -r) \
    libc6-dev
sudo apt install -y intel-i915-dkms intel-fw-gpu

# Install Compute Runtime
sudo apt-get install -y udev \
    intel-opencl-icd intel-level-zero-gpu level-zero \
    intel-media-va-driver-non-free libmfx1 libmfxgen1 libvpl2 \
    libegl-mesa0 libegl1-mesa libegl1-mesa-dev libgbm1 libgl1-mesa-dev libgl1-mesa-dri \
    libglapi-mesa libgles2-mesa-dev libglx-mesa0 libigdgmm12 libxatracker2 mesa-va-drivers \
    mesa-vdpau-drivers mesa-vulkan-drivers va-driver-all vainfo

sudo reboot
-
配置权限
sudo gpasswd -a ${USER} render
newgrp render

# Verify the device is working with i915 driver
sudo apt-get install -y hwinfo
hwinfo --display
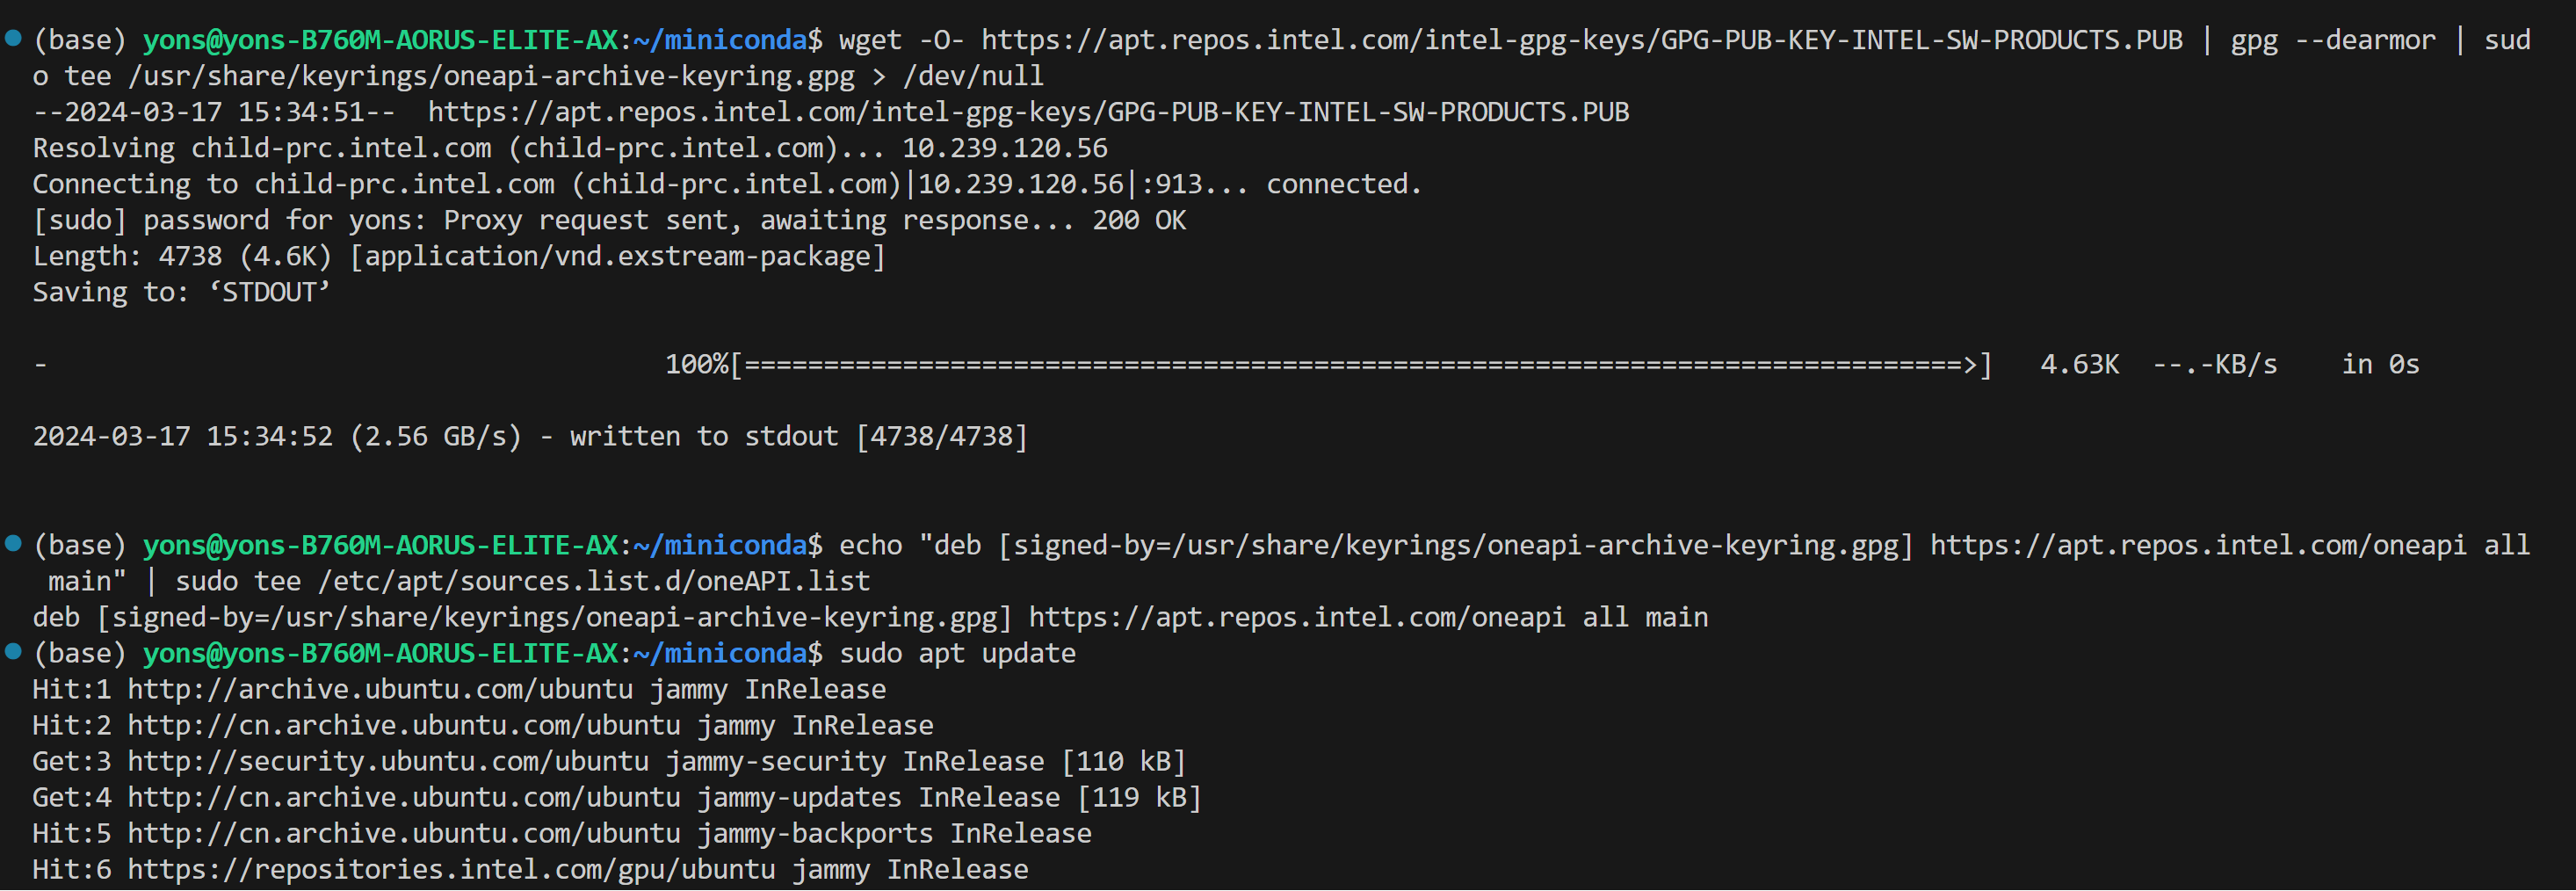
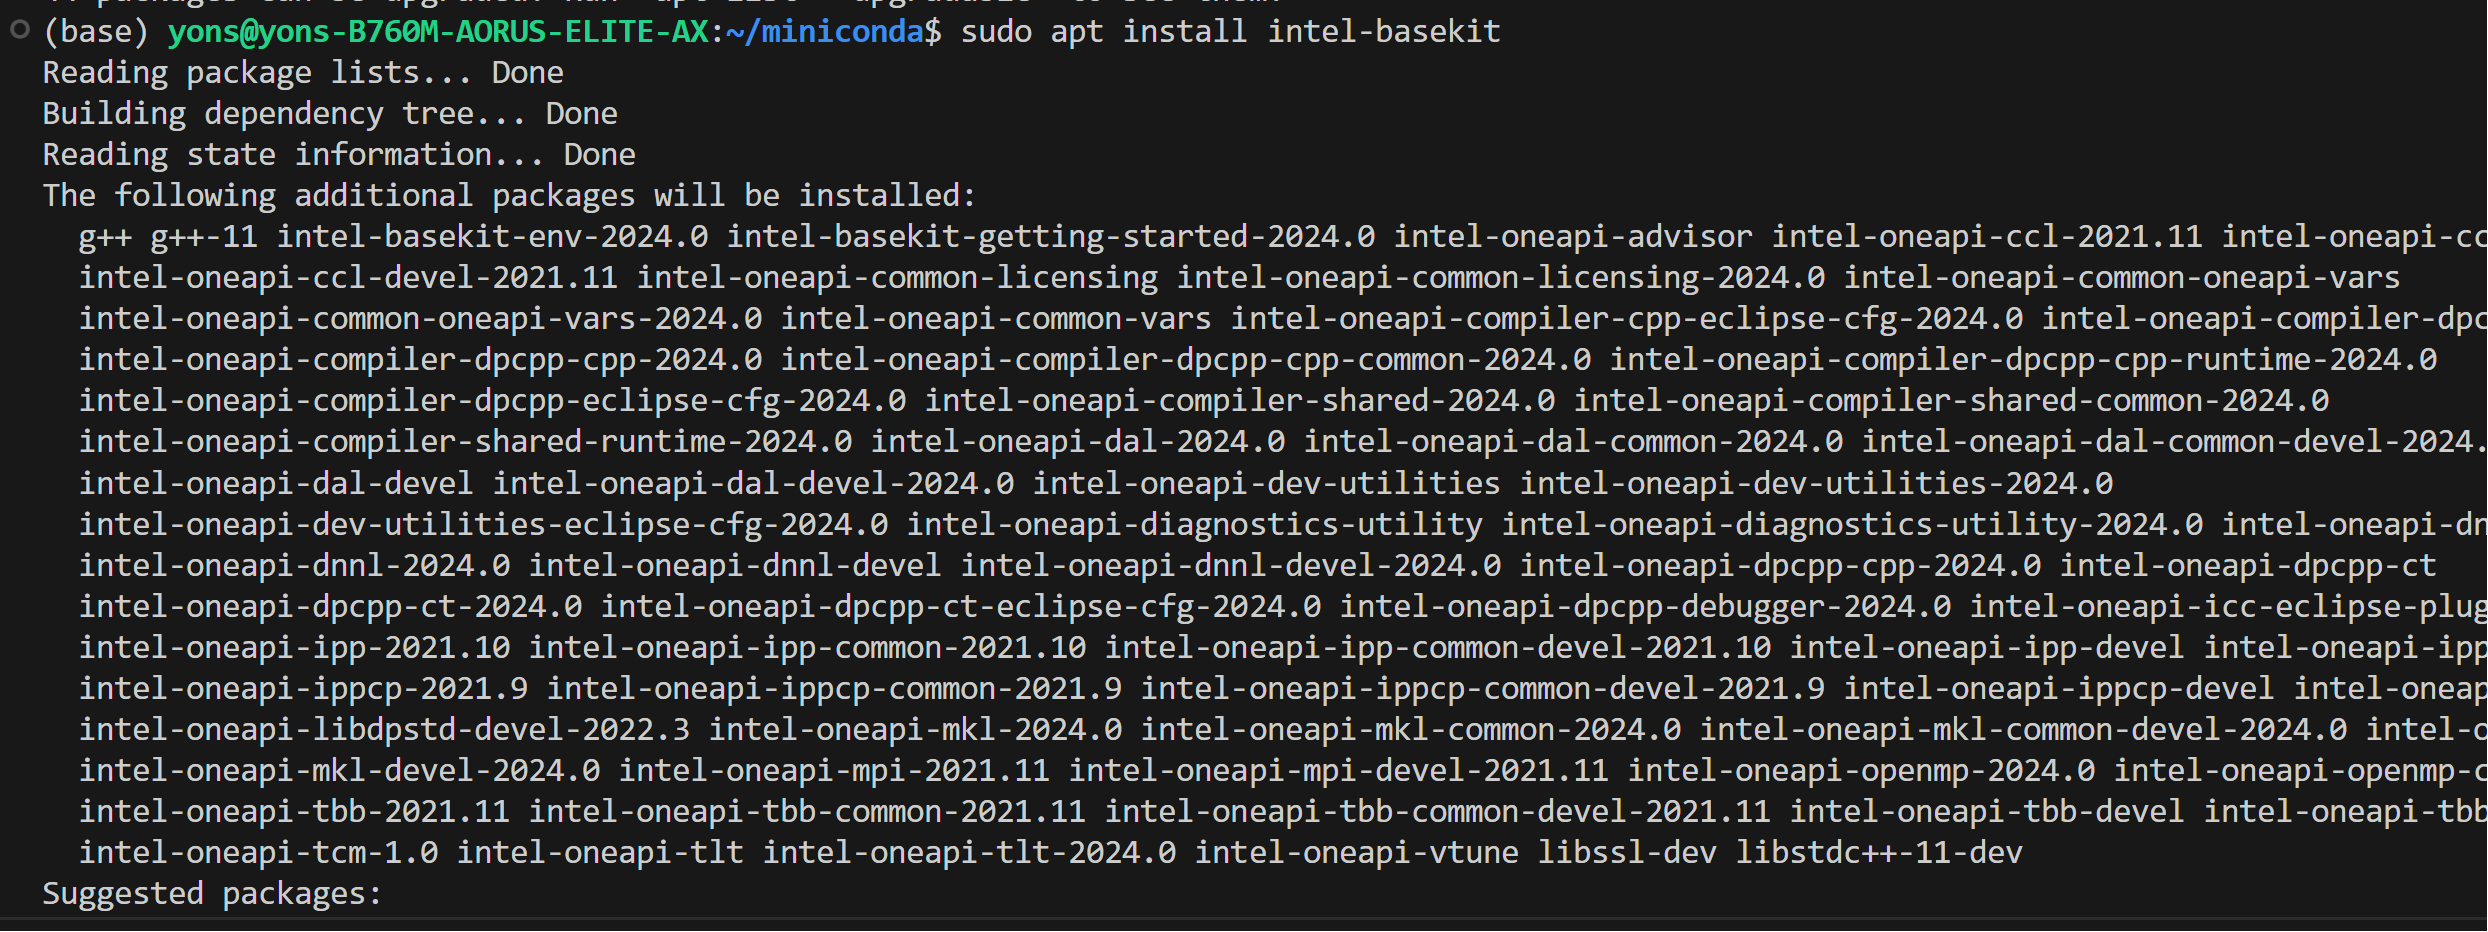
安装 oneAPI
IPEX-LLM 需要在 Linux 上安装适用于 Intel GPU 的 oneAPI 2024.0。
wget -O- https://apt.repos.intel.com/intel-gpg-keys/GPG-PUB-KEY-INTEL-SW-PRODUCTS.PUB | gpg --dearmor | sudo tee /usr/share/keyrings/oneapi-archive-keyring.gpg > /dev/null

echo "deb [signed-by=/usr/share/keyrings/oneapi-archive-keyring.gpg] https://apt.repos.intel.com/oneapi all main" | sudo tee /etc/apt/sources.list.d/oneAPI.list

sudo apt update

sudo apt install intel-oneapi-common-vars=2024.0.0-49406 \
  intel-oneapi-common-oneapi-vars=2024.0.0-49406 \
  intel-oneapi-diagnostics-utility=2024.0.0-49093 \
  intel-oneapi-compiler-dpcpp-cpp=2024.0.2-49895 \
  intel-oneapi-dpcpp-ct=2024.0.0-49381 \
  intel-oneapi-mkl=2024.0.0-49656 \
  intel-oneapi-mkl-devel=2024.0.0-49656 \
  intel-oneapi-mpi=2021.11.0-49493 \
  intel-oneapi-mpi-devel=2021.11.0-49493 \
  intel-oneapi-dal=2024.0.1-25 \
  intel-oneapi-dal-devel=2024.0.1-25 \
  intel-oneapi-ippcp=2021.9.1-5 \
  intel-oneapi-ippcp-devel=2021.9.1-5 \
  intel-oneapi-ipp=2021.10.1-13 \
  intel-oneapi-ipp-devel=2021.10.1-13 \
  intel-oneapi-tlt=2024.0.0-352 \
  intel-oneapi-ccl=2021.11.2-5 \
  intel-oneapi-ccl-devel=2021.11.2-5 \
  intel-oneapi-dnnl-devel=2024.0.0-49521 \
  intel-oneapi-dnnl=2024.0.0-49521 \
  intel-oneapi-tcm-1.0=1.0.0-435
Important
请务必在 GPU 驱动程序和 oneAPI 安装完成后重新启动机器:
sudo reboot
设置 Python 环境
如果你的机器上没有安装 conda,请按如下方式下载并安装 Miniforge:
wget https://github.com/conda-forge/miniforge/releases/latest/download/Miniforge3-Linux-x86_64.sh
bash Miniforge3-Linux-x86_64.sh
source ~/.bashrc
你可以使用 conda --version 来确认 conda 已安装成功。
conda 安装完成后,创建一个新的 Python 环境 llm:
conda create -n llm python=3.11
激活新创建的 llm 环境:
conda activate llm
安装 ipex-llm
在已激活的 llm 环境,使用 pip 安装适用于 GPU 的 ipex-llm。可根据区域选择不同的 extra-index-url,提供 US 和 CN 两个选项:
-
US:
pip install --pre --upgrade ipex-llm[xpu] --extra-index-url https://pytorch-extension.intel.com/release-whl/stable/xpu/us/ -
CN:
pip install --pre --upgrade ipex-llm[xpu] --extra-index-url https://pytorch-extension.intel.com/release-whl/stable/xpu/cn/
Note
如果在安装 IPEX 时遇到网络问题,请参阅本指南获取故障排除建议。
验证安装
-
你可以通过从库中导入一些类来验证
ipex-llm是否安装成功。例如,在终端中执行以下导入命令:source /opt/intel/oneapi/setvars.sh python > from ipex_llm.transformers import AutoModel, AutoModelForCausalLM
运行时配置
要在 Linux 上使用 GPU 加速,需要和推荐设置多个环境变量。根据你的 GPU 设备选择相应的配置:
-
Intel Arc™ A 系列和 Intel 数据中心 Flex 系列 GPU:
对于 Intel Arc™ A 系列和 Intel 数据中心 Flex 系列 GPU,推荐使用:
# Configure oneAPI environment variables. source /opt/intel/oneapi/setvars.sh # Recommended Environment Variables for optimal performance export USE_XETLA=OFF export SYCL_CACHE_PERSISTENT=1 # [optional] under most circumstances, the following environment variable may improve performance, but sometimes this may also cause performance degradation export SYCL_PI_LEVEL_ZERO_USE_IMMEDIATE_COMMANDLISTS=1 -
Intel 数据中心 Max 系列 GPU:
我们建议使用如下环境变量:
# Configure oneAPI environment variables.
source /opt/intel/oneapi/setvars.sh

# Recommended Environment Variables for optimal performance
export LD_PRELOAD=${LD_PRELOAD}:${CONDA_PREFIX}/lib/libtcmalloc.so
export SYCL_CACHE_PERSISTENT=1
export ENABLE_SDP_FUSION=1
# [optional] under most circumstances, the following environment variable may improve performance, but sometimes this may also cause performance degradation
export SYCL_PI_LEVEL_ZERO_USE_IMMEDIATE_COMMANDLISTS=1
请注意
libtcmalloc.so可以通过conda install -c conda-forge -y gperftools=2.10安装。 -
Intel iGPU:
# Configure oneAPI environment variables.
source /opt/intel/oneapi/setvars.sh

export SYCL_CACHE_PERSISTENT=1
Note
有关运行时配置的更多详细信息,请参阅本指南。
Note
环境变量
SYCL_PI_LEVEL_ZERO_USE_IMMEDIATE_COMMANDLISTS用于控制是否使用即时命令列表将任务提交到 GPU。启动此变量通常可以提高性能,但也有例外情况。因此,建议你在启用和禁用该环境变量的情况下进行测试,以找到最佳的性能设置。更多相关细节请参考此处文档。
快速示例
现在,让我们体验一下真实的大型语言模型(LLM)。本示例将使用 phi-1.5 模型,一个具有13亿个参数的 LLM。请按照以下步骤设置和运行模型,并观察它如何对提示 "What is AI?" 做出响应。
-
步骤 1:激活之前创建的
llmPython 环境:conda activate llm -
步骤 2:按照上述运行时配置章节,准备运行时环境。
-
步骤 3:创建一个名为
demo.py新文件,并将如下代码复制进其中:# Copy/Paste the contents to a new file demo.py import torch from ipex_llm.transformers import AutoModelForCausalLM from transformers import AutoTokenizer, GenerationConfig generation_config = GenerationConfig(use_cache = True) tokenizer = AutoTokenizer.from_pretrained("tiiuae/falcon-7b", trust_remote_code=True) # load Model using ipex-llm and load it to GPU model = AutoModelForCausalLM.from_pretrained( "tiiuae/falcon-7b", load_in_4bit=True, cpu_embedding=True, trust_remote_code=True) model = model.to('xpu') # Format the prompt question = "What is AI?" prompt = " Question:{prompt}\n\n Answer:".format(prompt=question) # Generate predicted tokens with torch.inference_mode(): input_ids = tokenizer.encode(prompt, return_tensors="pt").to('xpu') # warm up one more time before the actual generation task for the first run, see details in `Tips & Troubleshooting` # output = model.generate(input_ids, do_sample=False, max_new_tokens=32, generation_config = generation_config) output = model.generate(input_ids, do_sample=False, max_new_tokens=32, generation_config = generation_config).cpu() output_str = tokenizer.decode(output[0], skip_special_tokens=True) print(output_str)提示:
在内存有限的 Intel iGPU 上运行大语言模型时,我们建议在
from_pretrained函数中设置cpu_embedding=True。这将使内存占用较大的 embedding 层使用 CPU 而非 GPU。 -
步骤 4:在已激活的 Python 环境中使用以下命令运行
demo.py:python demo.py
示例输出
以下是在一个配备第 11 代 Intel Core i7 CPU 和 Iris Xe Graphics iGPU 的系统上的示例输出:
Question:What is AI?
Answer: AI stands for Artificial Intelligence, which is the simulation of human intelligence in machines.
提示和故障排除
首次运行时进行 Warm-up 以获得最佳性能
首次在 GPU 上运行大语言模型时,你可能会注意到性能低于预期,在生成第一个 token 之前可能会有长达几分钟的延迟。发生这种延迟是因为 GPU 内核需要编译和初始化,这在不同类型的 GPU 之间会有所差异。为获得最佳稳定的性能,我们推荐在正式生成任务开始之前,额外运行一次 model.generate(...) 做为 warm-up。如果你正在开发应用程序,你可以将此 warm-up 步骤集成到启动或加载流程中以加强用户体验。