| demo | ||
| .gitignore | ||
| env.sh | ||
| LICENSE | ||
| README.md | ||
| requirements.txt | ||
| screenshot.png | ||
| tts.py | ||
Simple TTS
A simple machine learning text-to-speech program for your terminal. Hear text read aloud by realistic voices; from a file or your clipboard.
Features
- Terminal-first user experience
- Many realistic voices available
- Use any length of text
- Saved raw audio files in sensible chunks
- Use copied text as input
- Utilize different GPUs as accelerator — Intel architecture supported!
Requirements
Simple TTS is in early development, and not packaged or distributed yet for any particular operating system. Please read on to see the tested environment I am developing & using it:
- This is currently only tested working on Debian or Ubuntu-based distros.
- GPU accelerators make the program run faster, but you need to have updated drivers for your device that
PyTorchrequires. However, it will still run fine on CPUs, just slower (up to 2x longer or more). - The following are required packages aside from the python dependencies.
espeak-ngis used under the hood as a fallback engine for English languages, andlibvlcis used as the default audio player for the generated audio.
sudo apt update
sudo apt install vlc espeak-ng
Note
Installing
vlcvia flatpak or snap will not work, as the code need access tolibvlc.
Setup
Clone repo and go into the directory
git clone https://git.ayo.run/ayo/simple-tts
cd simple-tts
Create new Python virtual environment. Here I use conda, but venv is also good.
conda create -n tts

### (optional) for Intel XPU specific device usage:
conda create -n tts --clone llm-pt26
Note
Optional for using Intel XPUs, you need to set up ipex-llm environment with pytorch 2.6. Also, see Intel XPU environmental variables" section below.
Activate the environment and install the dependencies
conda activate tts
python -m pip install -r requirements.txt
Intel XPU environmental variables (Optional)
For XPUs, we need to set some environmental variables. I have added a env.sh script which will activate the conda environment tts and set the environmental variables.
. env.sh
Usage
Go into the directory and activate the environment:
cd simple-tts
conda activate tts
If using Intel XPUs, set the env variables
. env.sh
Running the program without arguments will use the demo text tongue-twister.txt with the default voice.
python tts.py # will use default arguments
Providing text inputs
You can pass a string as first argument:
python tts.py "Hello world!" # will be read by the default voice
To run the program with an input file, use flag --input_file.
python tts.py --input_file demo/tongue-twister.txt

# or shorter...
python tts.py -i demo/tongue-twister.txt
You can also use the text stored in your clipboard (i.e., copied text). Select a text from anywhere (e.g., your web browser), copy it with <ctrl>+C or the context menu, then use the flag --clipboard:
python tts.py --clipboard

# or shorter...
python tts.py -c
Labeling your outputs
You can indicate a title to be used as label (i.e., file name prefix and directory name) to the generated outputs using --title
# This will put the generated files in ./outputs/siple-greeting/
python tts.py "Hello there!" --title "simple-greeting"

# or shorter
python tts.py "Hello there!" -t "simple-greeting"
Voices
Optionally, you can indicate a voice you want to use with the --voice flag. See all voices available.
python tts.py --voice am_michael

# or shorter...
python tts.py -v am_michael
There are four shortcuts available to the best voices: pro, hot, asmr, brit (i.e., best trained voices), and pro is the default if no value is given
python tts.py "Hello there!" --voice pro # af_heart

python tts.py "Hello there!" --voice hot # af_bella

python tts.py "Hello there!" --voice asmr # af_nicole

python tts.py "Hello there!" --voice brit # bf_emma
Disable audio player
You can disable the built-in audio player with --skip_play if you choose to play the audio files generated with your preferred player.
python tts.py "Hello there!" --voice asmr --skip_play

# or shorter...
python tts.py "Hello there!" --voice asmr -s
Advanced usages
The --verbose flag can be used to show more informative messages.
python tts.py --verbose
The --device or -d flag can be used to set the desired device (i.e., processor) to use:
python tts.py --device cpu # will use the cpu
python tts.py --device cuda # will use the NVIDIA GPU
python tts.py --device xpu # will use the Intel GPU
Demo Outputs
Voice: pro (ah_heart)
https://git.ayo.run/ayo/simple-tts/src/branch/main/demo/tongue-twister-af_heart-0.wav
https://git.ayo.run/ayo/simple-tts/src/branch/main/demo/tongue-twister-af_heart-1.wav
https://git.ayo.run/ayo/simple-tts/src/branch/main/demo/tongue-twister-af_heart-2.wav
Voice: asmr (ah_nicole)
https://git.ayo.run/ayo/simple-tts/src/branch/main/demo/tongue-twister-af_nicole-0.wav
https://git.ayo.run/ayo/simple-tts/src/branch/main/demo/tongue-twister-af_nicole-1.wav
https://git.ayo.run/ayo/simple-tts/src/branch/main/demo/tongue-twister-af_nicole-2.wav
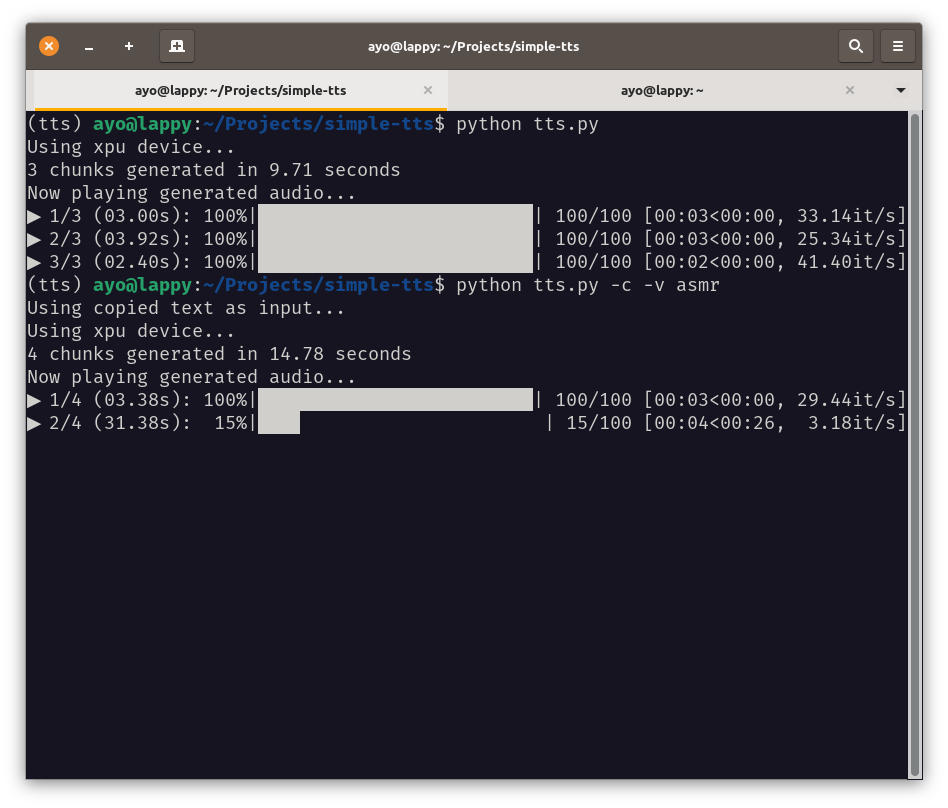
Screenshot