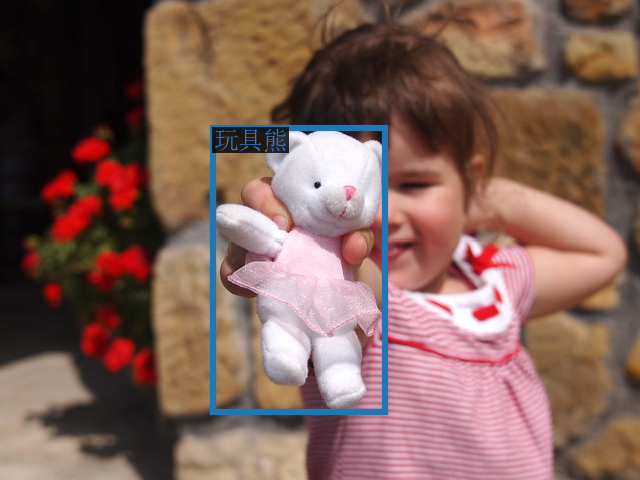
# Qwen-VL
In this directory, you will find examples on how you could use BigDL-LLM `optimize_model` API to accelerate Qwen-VL models. For illustration purposes, we utilize the [Qwen/Qwen-VL-Chat](https://huggingface.co/Qwen/Qwen-VL-Chat) as a reference Qwen-VL model.
## Requirements
To run these examples with BigDL-LLM, we have some recommended requirements for your machine, please refer to [here](../README.md#recommended-requirements) for more information.
## Example: Multimodal chat using `chat()` API
In the example [chat.py](./chat.py), we show a basic use case for a Qwen-VL model to start a multimodal chat using `chat()` API, with BigDL-LLM 'optimize_model' API.
### 1. Install
We suggest using conda to manage the Python environment. For more information about conda installation, please refer to [here](https://docs.conda.io/en/latest/miniconda.html#).
After installing conda, create a Python environment for BigDL-LLM:
```bash
conda create -n llm python=3.9 # recommend to use Python 3.9
conda activate llm
pip install --pre --upgrade bigdl-llm[all] # install the latest bigdl-llm nightly build with 'all' option
pip install accelerate tiktoken einops transformers_stream_generator==0.0.4 scipy torchvision pillow tensorboard matplotlib # additional package required for Qwen-VL-Chat to conduct generation
```
### 2. Run
After setting up the Python environment, you could run the example by following steps.
#### 2.1 Client
On client Windows machines, it is recommended to run directly with full utilization of all cores:
```powershell
python ./chat.py
```
More information about arguments can be found in [Arguments Info](#23-arguments-info) section. The expected output can be found in [Sample Output](#24-sample-output) section.
#### 2.2 Server
For optimal performance on server, it is recommended to set several environment variables (refer to [here](../README.md#best-known-configuration-on-linux) for more information), and run the example with all the physical cores of a single socket.
E.g. on Linux,
```bash
# set BigDL-Nano env variables
source bigdl-nano-init
# e.g. for a server with 48 cores per socket
export OMP_NUM_THREADS=48
numactl -C 0-47 -m 0 python ./chat.py
```
More information about arguments can be found in [Arguments Info](#23-arguments-info) section. The expected output can be found in [Sample Output](#24-sample-output) section.
#### 2.3 Arguments Info
In the example, several arguments can be passed to satisfy your requirements:
- `--repo-id-or-model-path`: str, argument defining the huggingface repo id for the Qwen-VL model to be downloaded, or the path to the huggingface checkpoint folder. It is default to be `'Qwen/Qwen-VL-Chat'`.
- `--n-predict`: int, argument defining the max number of tokens to predict. It is default to be `32`.
In every session, image and text can be entered into cmd (user can skip the input by type **'Enter'**) ; please type **'exit'** anytime you want to quit the dialouge.
Every image output will be named as the round of session and placed under the current directory.
#### 2.4 Sample Chat
#### [Qwen/Qwen-VL-Chat](https://huggingface.co/Qwen/Qwen-VL-Chat)
```log
-------------------- Session 1 --------------------
Please input a picture: https://images.unsplash.com/photo-1533738363-b7f9aef128ce?auto=format&fit=crop&q=60&w=500&ixlib=rb-4.0.3&ixid=M3wxMjA3fDB8MHxzZWFyY2h8NHx8Y2F0fGVufDB8fDB8fHwy
Please enter the text: 这是什么
---------- Response ----------
图中是一只戴着墨镜的酷炫猫咪,正坐在窗边,看着窗外。
-------------------- Session 2 --------------------
Please input a picture:
Please enter the text: 这只猫猫多大了?
---------- Response ----------
由于只猫猫戴着太阳镜,无法判断年龄,但可以猜测它应该是一只成年猫猫,已经成年。
-------------------- Session 3 --------------------
Please input a picture:
Please enter the text: 在图中检测框出猫猫的墨镜
---------- Response ----------
[猫猫的墨镜](398,313),(994,506)
-------------------- Session 4 --------------------
Please input a picture: exit
```
The sample input image in Session 1 is (which is fetched from [here](https://images.unsplash.com/photo-1533738363-b7f9aef128ce?auto=format&fit=crop&q=60&w=500&ixlib=rb-4.0.3&ixid=M3wxMjA3fDB8MHxzZWFyY2h8NHx8Y2F0fGVufDB8fDB8fHwy)):
 The sample output image in Session 3 is:

 The sample output image in Session 3 is:
